How to make the perfect fried egg?
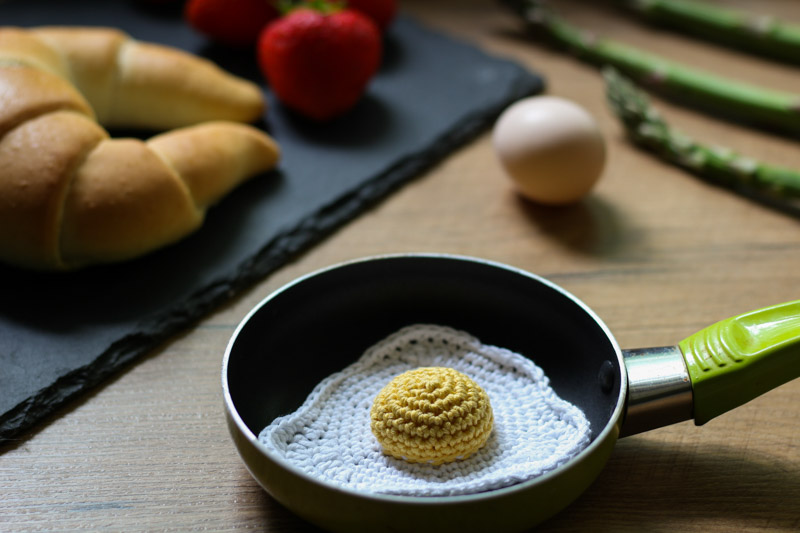
Delicious, crispy and runny sunny-side up, bread roll, some fresh veggies and a cup of coffee - what a way to start your day.... Yummy :)
Unfortunately eggs only look easy to make, in reality they are actually quite difficult to get right. After several unsuccessful attempts, I have decided to permanently hand the frying pan to my hubby (he is the Fried Egg Wizard), and find another way of making my own perfect sunny-side up egg. So, if you are a bad cook like me, don’t worry, I have something especially for you....
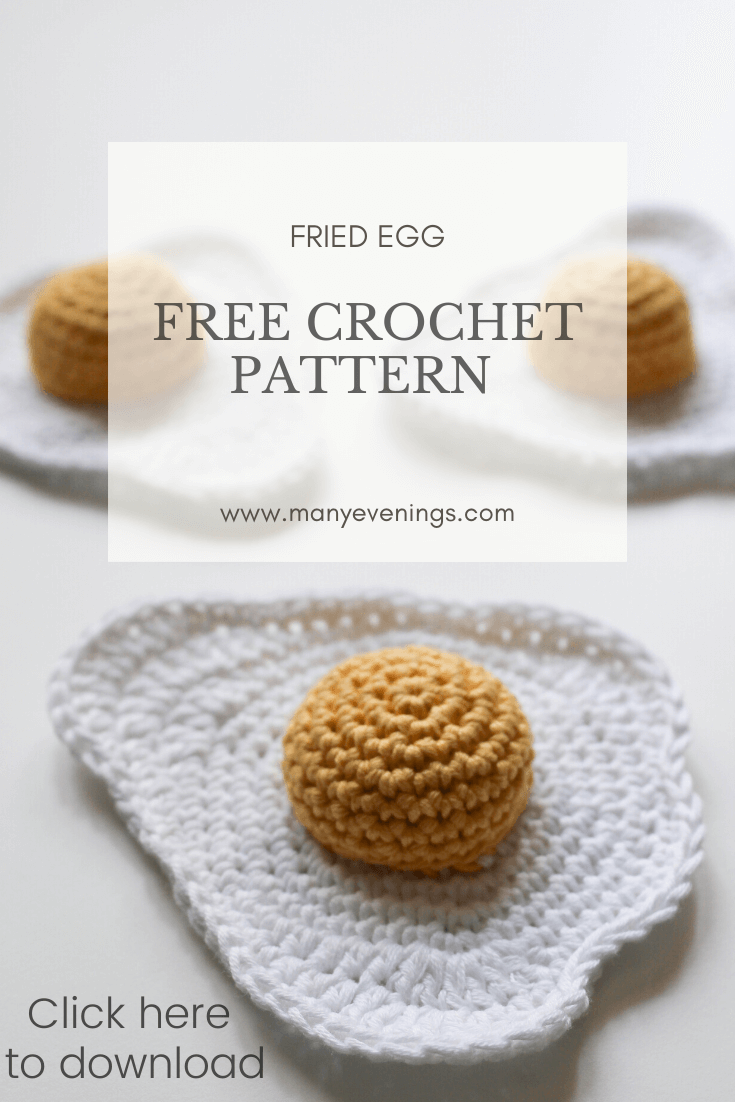
FREE FRIED EGG CROCHET PATTERN & TUTORIAL
Ta-daaaaah! After months of planning, and days of designing, frogging, adjusting, redesigning, photographing and creating, I am finally ready to share with you my very first crochet pattern.
CLICK HERE to download a simplified one page PDF pattern, or follow the step-by-step photo tutorial below. These beginner friendly instructions will guide you through the whole process. All you need is a basic knowledge of crochet stitches and your favourite beverage (snacks are optional ;)).
This tasty looking egg measures approximately 4 inches (in its widest part) and it takes about 1.5 hours to complete. It is made of two parts, that are sewn together. To get this extra yummy and realistic look, I have used a little bit of hollowfibre filling to stuff the yolk. The curly edges were created by uneven increasing and some slip-stitching in the final round.
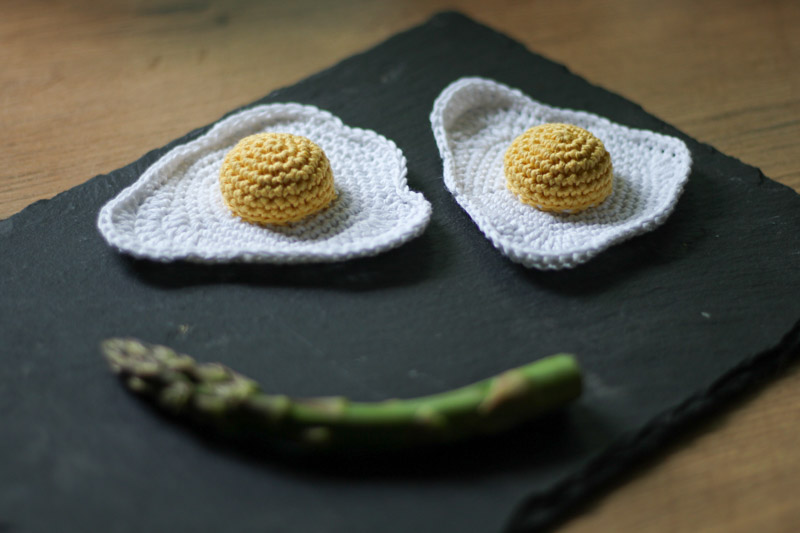
I can think of at least two ways of making a good use of this cute little egg. I personally use it as a pin cushion in my craft room. But it will make even better job in kid's playroom. Imagine your toddler serving you a breakfast to bed with no mess whatsoever. Oh , happy days :)
Materials
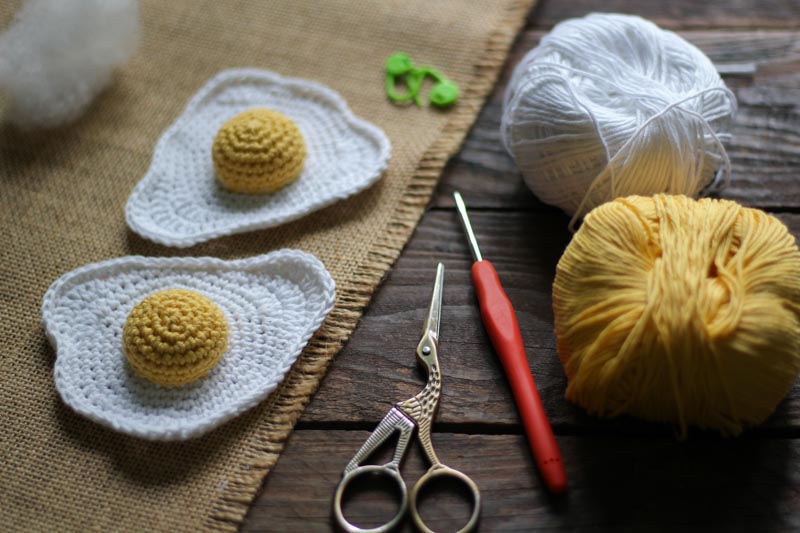
The pattern is written using DMC yarn called Natura Just Cotton. It comes in a variety of vibrant colours, and it has this nice matte finish. I have worked with shades N01 (Ibiza) and N16 (Tournesol) along with a 3 mm crochet hook. You will also need some toy stuffing, 2 stitch markers, scissors and a yarn needle.
Crochet Fried Egg - Pattern and Tutorial
Note: The pattern is based on crocheting in a spiral. It means that we will be working in a continuous manner, without the slip stitch at the end of each round. Instead, we will move into the next round straight away, so there is no chain at the beginning of the round either. For easy and smooth transition between rounds, always place the stitch marker in the first stitch of the round.
The pattern is written in US terms.
Gauge : 2" = 12 sts x 13 rows in sc
Abbreviations:
MR - Magic Ring
sl st - slip stitch
sc - single crochet
hdc - half double crochet
dc - double crochet
inc - single crochet increase, work two single crochet stitches in one stitch
dc inc - double crochet increase, work two double crochet stitches in one stitch
st/sts - stitch/stitches
Egg White
Round 1
We are going to start with the egg white, so grab your white yarn and create a Magic Ring. Once you are done work 6 sc into the centre of the ring (6 sts). The first few rounds are based only on single crochet stitches and single crochet increase.
Round 2
As we are crocheting in a spiral we will move directly to the next round, without any slip stitch or chain.
Rounds 2 - 8 will be our increase rounds. It means that we will add 6 single crochet stitches to each of these rounds.
We will start from increasing in each stitch (6 inc). Make 2 sc in every stitch of the previous round (12 sts).
Round 3
In this round the increase is done in every other stitch. Work 1 sc into the first stitch of the previous round and then 2 sc into the next one (inc) . Repeat 5 more times (18 sts).
Round 4
Now increase should be worked in every 3rd stitch. Make 1 sc in the first two stitches (2sc) and 2 sc into the next one (inc). Repeat till the end of the round (24 sts).
Round 5
Work increase in every 4th stitch. Can you see the pattern now? The number of single crochet stitches between increases is bigger each round. So using other words make 3 sc and inc. Repeat this sequence till the end of the round (30 sts).
Round 6
Make 4 sc and work increase in the 5th stitch. Repeat till the end of the round (36 sts).
Round 7
Easy, right?! Work 5 sc and inc. Repeat till the end of the round (42 sts).
Round 8
Make 6 sc and inc. Repeat till the end of the round (48 sts).
Round 9
This is the point when you may want to make another cuppa, we are going to start shaping our egg. The last 3 rounds are using various stitches in seemingly random manner. We will now add some half double crochet and double crochet stitches, and in few places double crochet increase (working 2 dc in one stitch).
It only looks a bit scary, but I promise you it is worth the pain.
Make 4 sc, 2 hdc, 3 dc inc, hdc, 3 sc, 3 hdc, 4 sc, hdc, dc, dc inc, dc, hdc, 11 sc, hdc, dc inc, dc, dc inc, hdc, 7 sc (54 sts).
Round 10
Very similar story here.
Make 3 sc, 3 hdc, dc, 3 dc inc, dc, hdc, 28 sc, hdc, dc, 3 dc inc, dc, 3 hdc, 5 sc (60 sts).
Round 11
Hang on, we are nearly there. It is our last round of the egg white. We are introducing some slip stitches here, and please note that in one spot we are going back to single crochet increase (inc).
Make 5 sl st, 11 sc, 3 sl st, 5 sc, 2 sl st, 4 sc, inc, 3 sc, 3 sl st, 8 sc, hdc, dc, 3 dc inc, dc, hdc, 3 sc, 5 sl st.
Well done! You have made it :)
Now fasten off and weave in loose ends. If you are crazy about the details like me, use the invisible finish.
Yolk
Round 1
So far so good, right? Let’s move to the yolk then. Using your yellow yarn create a magic ring and work 6 sc into the centre of the circle (6 sts).
Round 2
Work 2 sc in each stitch of the previous round (12 sts).
Round 3
Make 1 sc and inc. Repeat this sequence till the end of the round (18 st).
Round 4
Make 2 sc and inc. Repeat till the end of the round (24 sts).
Round 5
We have just reached the desired diameter of the yolk, so there will be no more increasing. It’s time to make it more three dimensional.
Make sc in each stitch around (24 sts).
Round 6
Same as above. Make sc in each stitch around (24 sts).
Round 7
Can you see the difference? Work one more round of sc all around (24 sts).
Round 8.
The last touch is done by working a slip stitch all the way around (24 st). It creates a nice even edge and gives our yolk its final shape.
Fasten off and weave in loose ends (if you are in a hurry just tuck them in). One more time - invisible finish is highly recommended here.
Assembly
The last thing that is left is joining both pieces. Find the spot you like the most, and attach the yolk to the egg white. I have tried various methods, but the seamless amigurumi join seems to work the best. Stuff the yolk just before finishing the seam. If you don't have any toy filling, you can use some unwanted yarn cuttings.
Voila! Your perfect fried egg is ready :)
Thanks for popping in and see you around!
If you feel like sharing this pattern with your fellow crocheters, do so, but please do not reproduce, distribute or sell it. Please be aware that this pattern is for personal use only. You can sell finished items on a small scale, but please credit me as a designer.
Check my other patterns
manyevenings@gmail.com
(+48) 513 637 578
Many Evenings s.c.


